Setup Angular Service Worker
A guide on how to set up the service worker in Angular web applications, including configuration and testing on localhost and mobile devices.

Every developer should know, how to setup up the service worker in web applications. The angular team provide a service worker module, which can easily installed with angular schemantics.
If you using nextjs framework from vercel, you should take a look at the pwa plugin (https://github.com/shadowwalker/next-pwa)
First, run the command:
ng add @angular/pwa
After running the Angular CLI command, several changes are made to your project:
-
ngsw-config.json: This file is created at the root of your project. It contains configuration options for the Angular service worker, such as caching strategies and asset groups. -
angular.json: The build configuration in this file is updated to include service worker support. A new section is added to the build options to register thengsw-config.jsonfile and enable service worker production builds. -
src/manifest.webmanifest: This file is added to define the web app manifest, which includes metadata about your application, such as its name, icons, and theme colors. This file is essential for PWA capabilities like 'Add to Home Screen'. -
src/app/app.config.ts: TheprovideServiceWorkeris imported and configured to register the service worker, like the following code:import { provideServiceWorker } from '@angular/service-worker'; export const appConfig: ApplicationConfig = { providers: [ provideServiceWorker('ngsw-worker.js', { enabled: true, registrationStrategy: 'registerImmediately' }) ] }; -
src/ngsw-worker.js: This is the service worker script itself, which will be used to control the caching and updating of your application. -
public/icons/icon-*.png: The icons are referenced in the manifest. They will later be the app icon on the mobile phone. -
src/index.html: The manifest file reference is added and the theme-color meta data is added.
Just do the following changes:
- Delete all icons in
public/icons/* - Delete the
src/manifest.webmanifestfile - Undo
index.htmlchanges
You successfully setup an angular service worker!
Test the Service Worker on Localhost
Before starting the service worker, keep the following points in mind:
- PWAs and service workers do not function over HTTP. They only work on HTTPS, except when testing on localhost.
- PWA installation is not possible in Incognito mode.
- Service workers are disabled in development mode and must be built in production mode.
That said, you need to run the following commands:
ng build

npx http-server -p 8080 -c-1 dist/<project-name>/browser
The ng build command builds your application in production mode by default. With http-server, you will serve the built application. We have also configured http-server as follows:
- The
http-serverwill use port 8080 (parameter: -p) - The
http-serverwill disable caching (parameter: -c-1)
In the console, it will print out available URLs. Choose and open the browser: http://127.0.0.1:8080
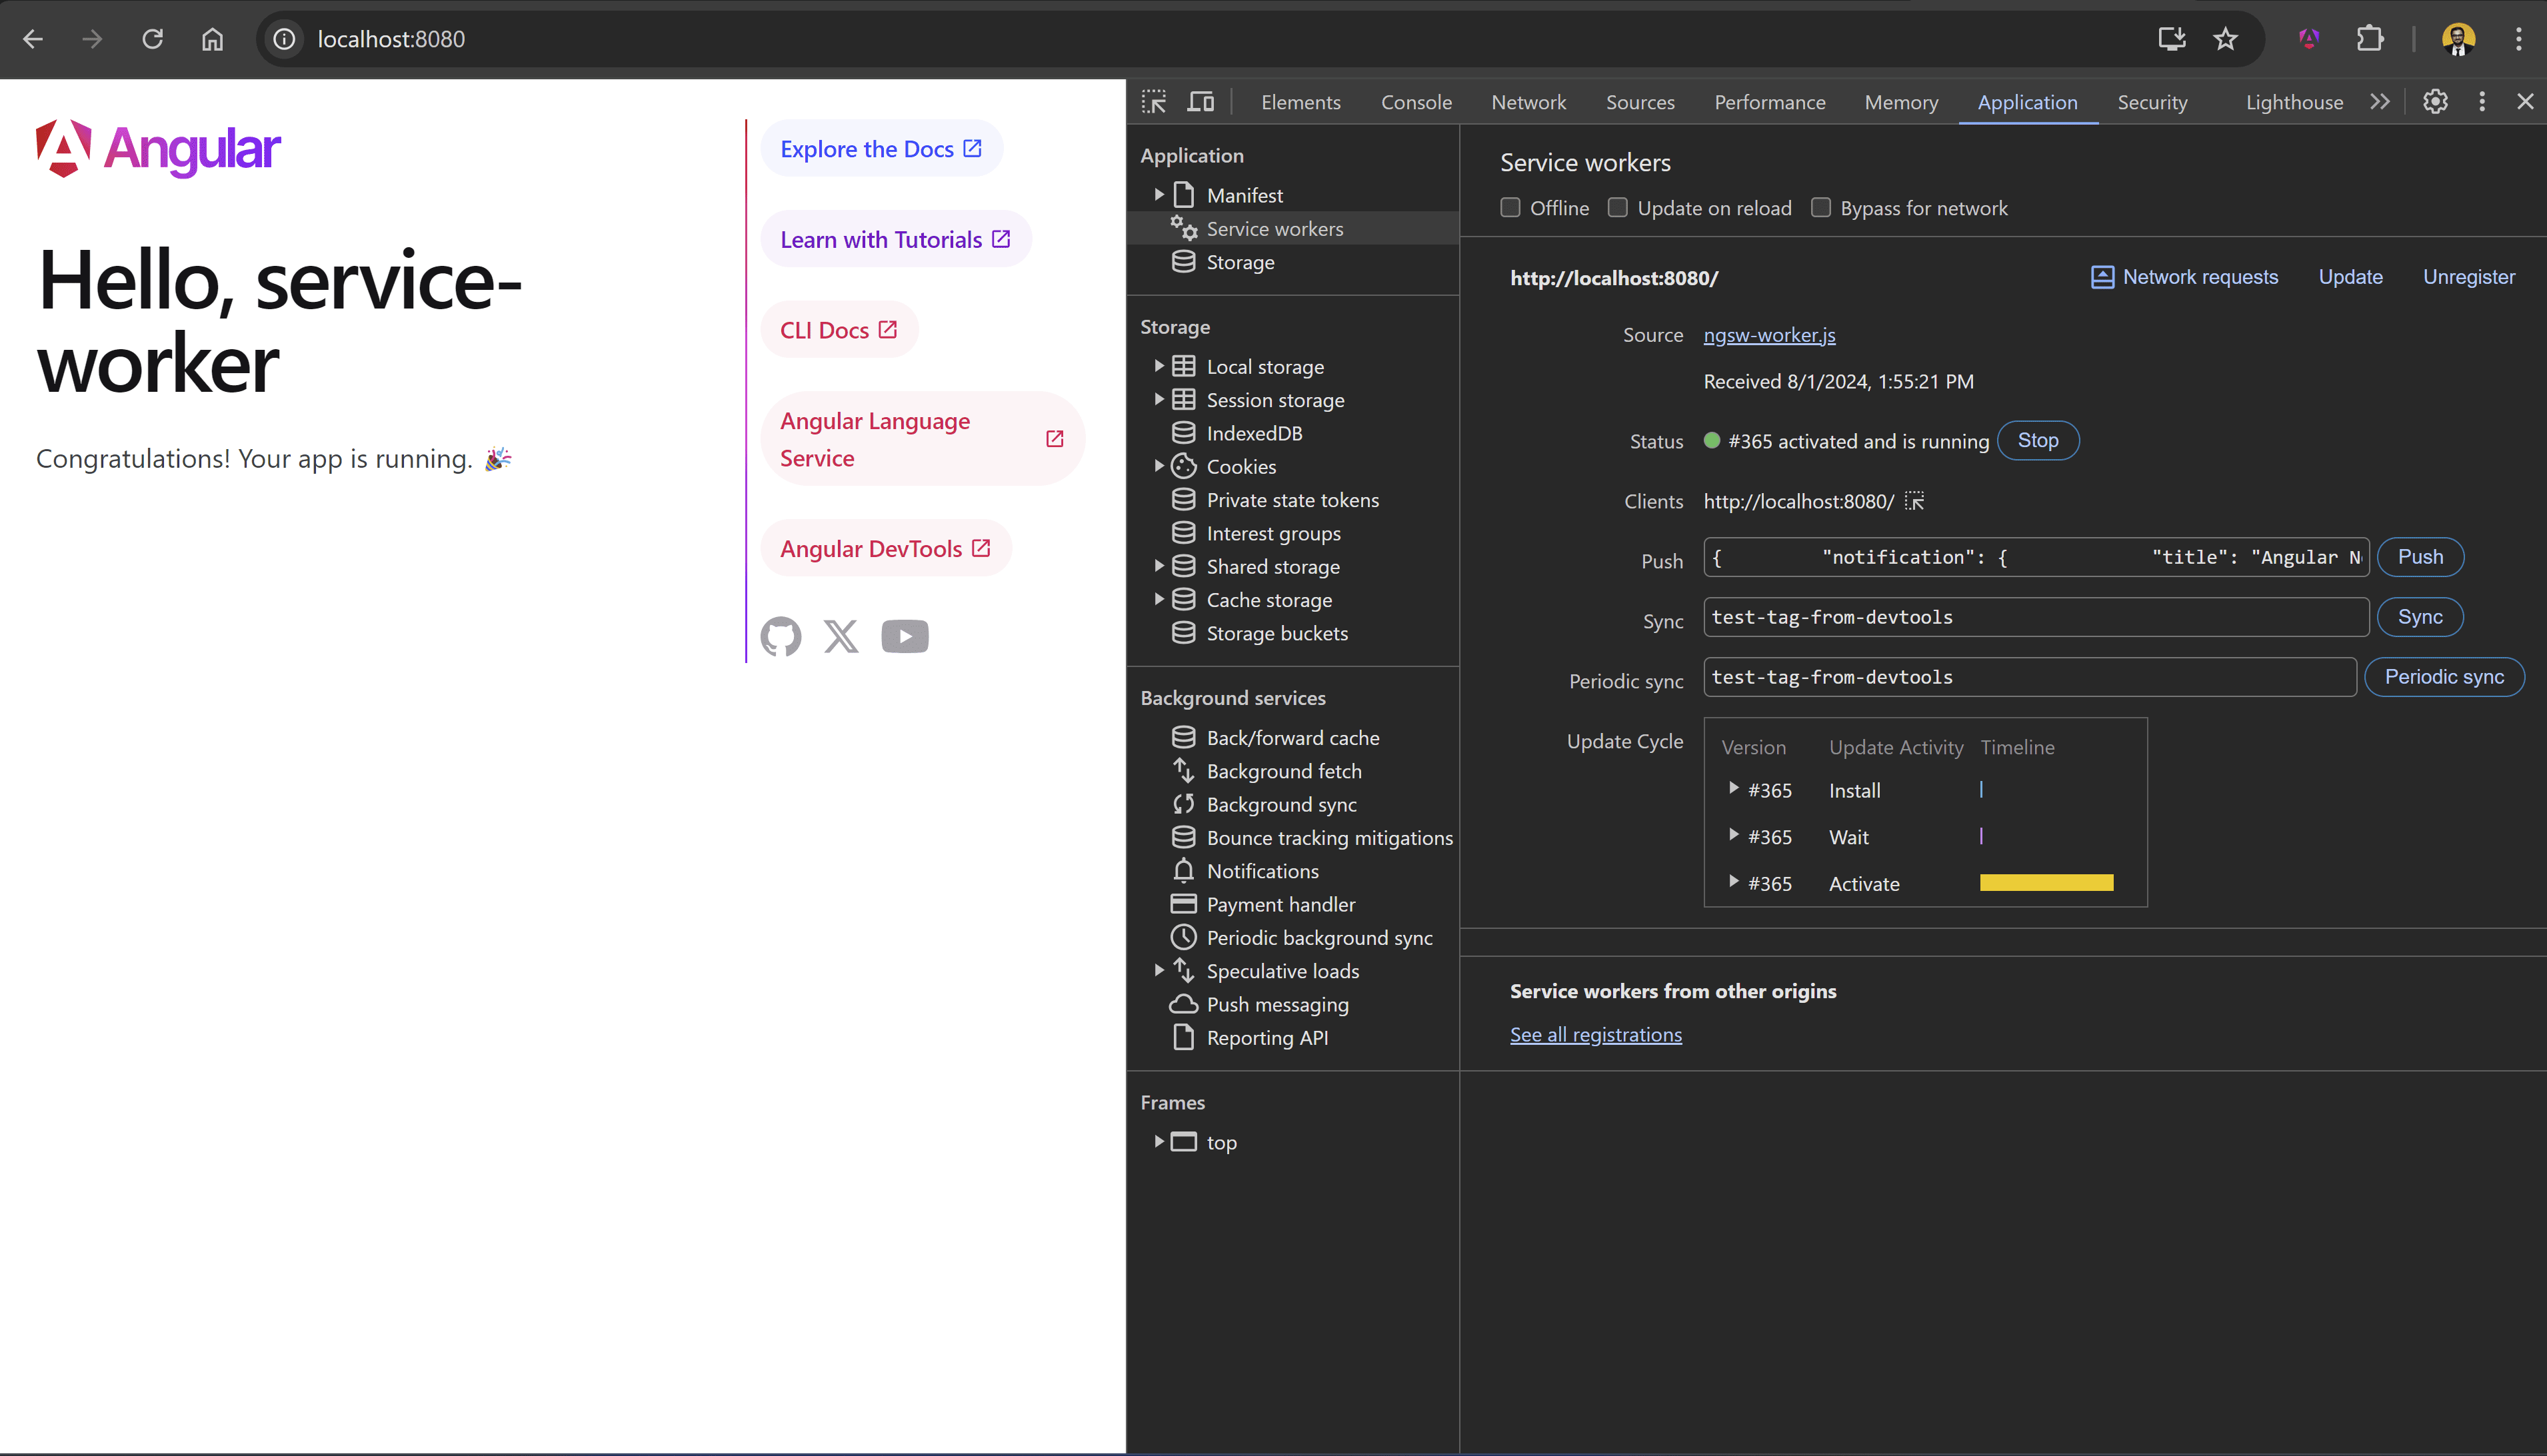
You can verify in the DevTools → Application Tab, if the service worker is activated. Also an install icon will appear in the browser's address bar, allowing you to easily install the PWA.
Test the Service Worker on Mobile Devices
Sometimes you need to manually test your local changes on mobile devices, especially when building a PWA app. Since service workers are only available on localhost, you cannot test them on other devices via your local network. However, we can use port forwarding to access the local application.
Port forwarding can be done with tools like ngrok, but the easiest way is by using the port forwarding feature in Visual Studio Code.
- Open your project in Visual Studio Code.
- Build and run
http-serverin the terminal. - Select the Ports tab (next to the Terminal tab).
- Press “Add Port” and type 8080.
- Right-click on the newly added row and select “Port Visibility” → Public.
- Copy the URL and open it in your mobile browser.
- You can now install your pwa and test it.
Add a image reference to the port forwarding feature in Visual Studio Code.

Conclusion
You have learned how to set up the service worker in Angular web applications. We covered the installation, configuration and testing on localhost and mobile devices.
Happy coding! 🚀